Types of plugs
At Brycus Advice we believe that you don't have to be an expert to make small electrical reforms in your home. For this reason, in today's post we will deal with the subject of plugs and how to install or change them safely.
Necessary tools
- Flathead and crosshead screwdriver
- Wire stripper
- Electrician's clamp
- Pole search to verify that there is no voltage
- Drill
- Plug in
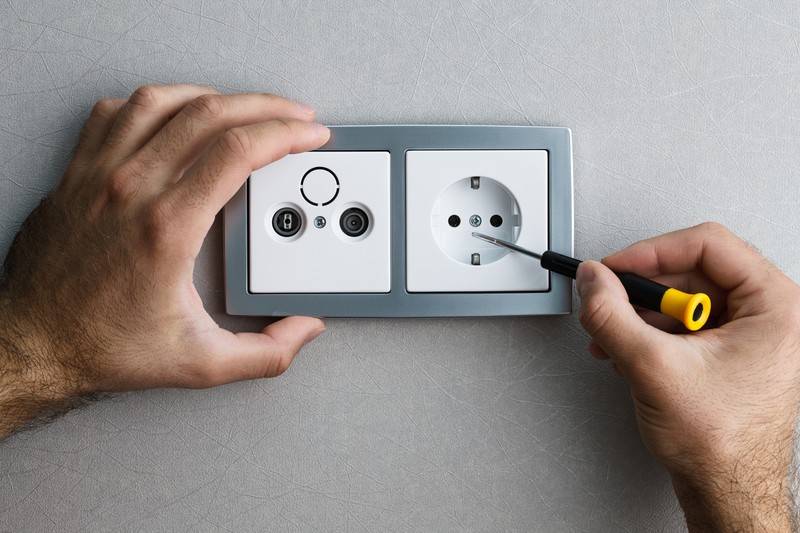
Recessed or box socket
This type of plug is generally found installed in all types of buildings (homes, offices, industries...). It is characterised by its mechanism, a box made of thermoplastic material that contains the structure where the cables are connected, which is embedded in the wall and hidden from view thanks to a decorative piece. The trim is a removable piece that can also be acquired independently, so that the final result of the plug can be adapted to any room and to different decorative styles.
How to install a built-in socket
Safety must come first and before starting the installation you must check and make sure that the differential is disconnected. The ideal is to check with a tester that there is no current, once checked you have to follow the following steps:
- 1º- Make sure you have a universal box already placed on the wall.
- 2º- Find the cables and remove them. You must extract a black, brown or grey wire for the active phase; blue for the neutral and yellow or green for the earth.
- 3º- Strip the cable sheath between 10 or 20 mm to make the connection.
- 4º- Connect the cables to the mechanism. Unless the socket is ungrounded, the mechanism usually has three connections.
- 5º- Once the cables are connected, fix the mechanism with the lateral screws to the embedded box.
- 6º- Place the cover on the pins of the mechanism and place the cover where the plug will go.
- 7º- Connect the differential to give current to the mechanism and check that everything works correctly by plugging an electrical appliance into the socket.
Surface plug
This type of socket is fixed to the wall with screws and is widely used for the extension of main installations because it is easy to assemble and does not require any kind of work. Although its main use is outdoors, basements and garages, it integrates perfectly in industrial style environments or in rustic houses to imitate the old switches.
How to install a surface mount socket
To be able to carry out this installation, a connection box or plug must be available relatively close to the place where it is to be installed.
- 1º- After taking out the mechanism of the plug, mark the box in the place where you are going to place it and fix it to the wall. It is important to check that no cables or pipes that could be damaged when drilling into the wall pass through the place where the new socket is to be placed.
- 2º- Strip the tip of the cable about 10 or 20 mm. You must choose a cable according to the power of the appliances you are going to connect.
- 3º- Join the copper wires to the mechanism taking into account the polarity.
- 4º- Screw the mechanism to the box and place the cover
- 5º- Take a trunking from the new plug to the connection place and fix it to the wall with plugs and screws.
- 6º- Insert the cable into the trunking and make the connection to the main plug.
- 7º- Put the cover and the trims on the chute, connect the differential and check that everything works correctly.
As you have seen, installing a surface or built-in socket is not too complicated. You just have to have the appropriate tools and be careful not to have any kind of accident with the electricity. For this task, one of our Brycus tips is to use protective gloves and insulating tools to avoid mishaps.


Our customers trust us
Opinions of our clients
Receive our news