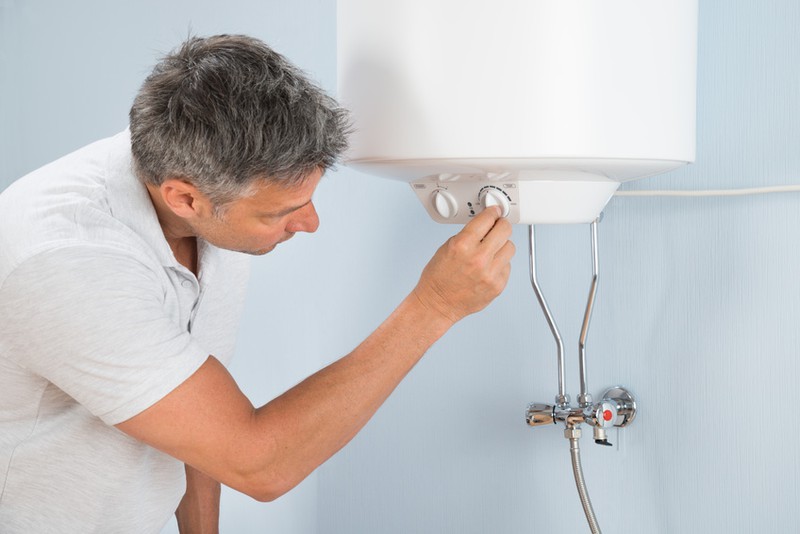
Installation of electric thermos
If you need to install an electric water heater, here we will help you do it. Although before starting you must hire a technician to eliminate all gas outlets. Once this is done, among our Brycus tips, we recommend you take the opportunity to cover those unsightly holes that have been exposed.
What brands are the most prominent? One of the most outstanding is Ferrolli, a leading brand in the market. Their products are of great performance and quality. And we have them, along with many others. You can find excellent heating products and thermos at the best price in Brycus, take a look at the web!

Before proceeding with the installation, you must decide what to do with the smoke outlet. You can choose to put a grille to take advantage of that extra ventilation or directly cover the outlet. In the latter case, it should be covered and painted to make it more aesthetically pleasing. Now let's see the steps to install the electric water heater:
1. Mark the exact position of the flask with a pencil or marker
The places where you want to place your electric water heater must be precisely marked. Mark the fixing points with a pencil. Once this is done you can proceed safely to make the holes in the wall to place the new thermos.
2. Choose a suitable drill
The drill you must use here has to be the diameter of the plugs. And once the holes are made, all that remains is to fit the plugs. If you need it, you can help yourself with a hammer to introduce them.
3. Seal the hot water intake pipe
Insert the screws into the plugs and tighten them well so that they are well fixed. Then we seal the hot water intake tube to prevent leaks. You can use a reducing fitting to fit the valve to the wall pipe, since they do not have the same diameter.
4. Seal the threads with the sealing thread
After placing the thermos to the hot water intake and fixing it correctly, we will use the sealing thread. It is not mandatory, but it is another of our Brycus tips to prevent water loss. All threads should be sealed.
5. Put the brass bushings
Now it's time to screw both hoses. On this occasion, a weld is made using a filler metal, so we will use brass bushings. Once the task is finished, it is recommended to sand the joint area. Furthermore, a stripper can be used to prevent rust.
6. Place the sleeves
This structure must be fixed to the cold water intake, again through a good welding. An electrolytic sleeve is then placed on this socket to prevent corrosion.
7. Join hose and valve
To join the sleeve with the valve we will use a male-male bushing. And we will place another sleeve in the other entrance, the hot water one. Check that they are well joined before moving on to the next step.
8. Now it's the turn of the hoses
Essential for the operation of the thermos. They must be perfectly connected to the joints. And we already took the opportunity to place a tube to be able to empty the thermos easily. Its place is at the outlet of the safety valve.
9. paint the tubes
And it can now be painted to improve its aesthetics! If you want it to go unnoticed, it is best to paint the tubes the same color as the walls of your house. It will go completely unnoticed.
10. Check that it works correctly
Now it only remains to check if it works correctly! Turn on the thermos and enjoy hot and cold water. Nice job!


Our customers trust us
Opinions of our clients
Receive our news