Making a clothespin hanger
If you are used to following our Brycus advice, you will know that we always try to give you the most original ideas for your home arrangements. Whoever browses our page not only discovers all the offers in DIY and decoration. Also learn useful techniques and tricks like the one we bring you today. Because surely you have also found yourself in the situation of not knowing where to leave some important paper that you do not want to lose, and that you end up leaving in a messy pile, or grouped with a paper clip. If that is the case, today we will teach you how to build something different, versatile, and that can become a very simple DIY project that is perfect to do as a family.
Today we will explain how you can mount your own wall paper hanger with clothespins. Read on, and you will learn everything you need to know.

As it is a fairly simple project, the materials that we are going to need are few and easy to find. The main ones will be:
A plank of wood.
Clothespins for hanging clothes.
A hot melt glue gun.
When choosing the materials, we must take into account the type of wooden plank that we are going to use. Actually, any piece of wood can do; but it does not have to be very resistant, and it would be interesting if it did not weigh too much. Therefore, a thin plywood can be a very interesting option.
On the other hand, if we want to give our hanger a more fun finish, we can choose different colored plastic clips.
Also, having a spirit level can be helpful. A wood saw, especially marquetry, will also be helpful.
The assembly process will be simple, so it shouldn't take long. The first step will be to choose the wooden plank and cut it to the size that interests us the most. Next, we will arrange the clamps on the plank leaving the separation we want. If we want a regular finish we can help ourselves with a rule. Then, we will proceed to glue each clamp on the wood with the help of the glue gun.
At this point we will have the hanger ready. And, if we wish, we can fix it on the wall with the same hot glue and with the help of the bubble level to make sure it is straight. If you used a thicker wood, however, you will need to screw the piece to hold.
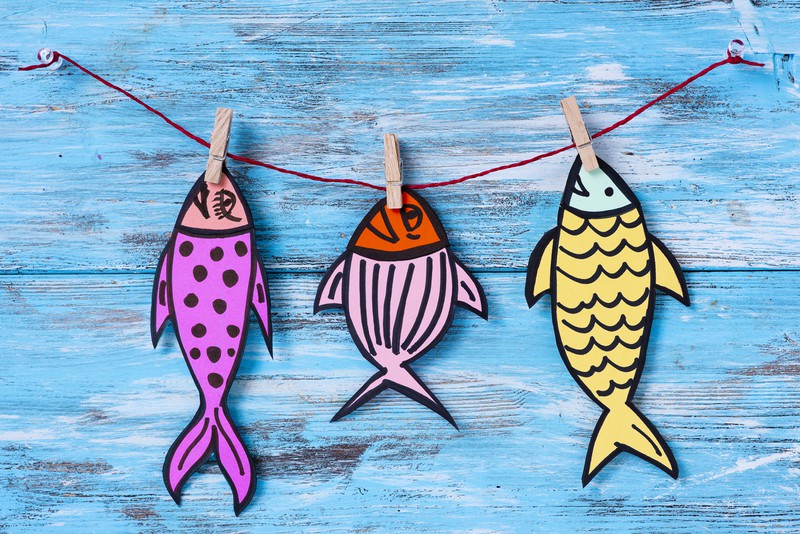
The basic hanger works and can be practical, but… Wouldn't it be better to give it more personality?
When cutting the wooden plank, for example, we can decide to give it some special shape. To do this we only have to mark the drawing on its surface, and then cut it out with the help of a fret saw. Once this is done we will sand it to remove the chips.
If we want, we can also color it. With spray paint we will cover the piece without leaving unsightly brushes.
And finally, it will only remain to glue the tweezers. Depending on the shape or color we have chosen, we can choose plastic or wooden clips ... or even paint them ourselves. And so, we will have our fantasy hanger, ready to fix on the wall.
As you have seen, building a clothespin hanger is very simple. The Brycus Tips we have offered will help you do it smoothly, and will give you ideas to get the best results. Visit our page, and discover all the offers in DIY and decoration. We have almost twenty years of experience in the sector behind us, and our team is always available to offer you their help.


Our customers trust us
Opinions of our clients
Receive our news