Build a bird house
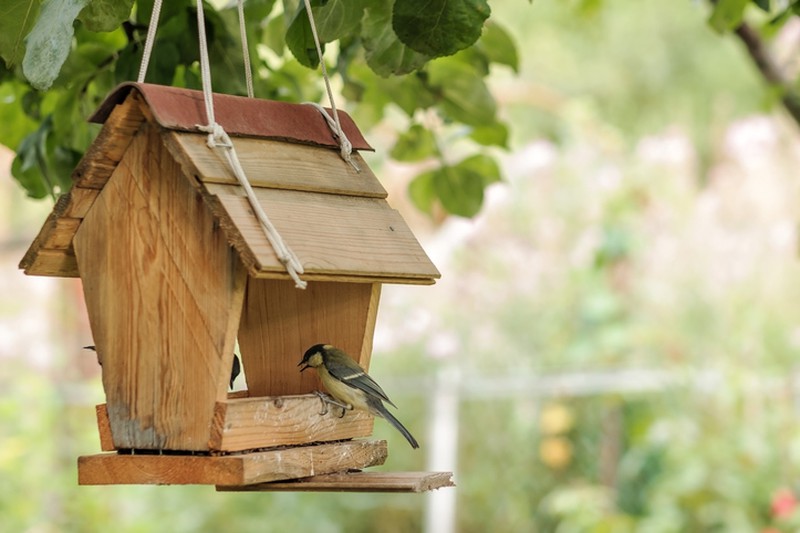
A birdhouse represents an opportunity for nature to become more integrated into our environment. And there is nothing better than building an aviary ourselves to 'invite' small wild birds to stay in our garden or orchard.

The first thing to do is to buy the wood. A piece of wood 240 centimeters long by 20 centimeters wide and 2.5 centimeters thick will be enough. The wood has to be cedar or cypress because they are resistant woods that can be placed outdoors. The wood must be untreated because the idea is to paint it later.
Let's continue. The next thing is to buy galvanized screws. This type of screw is better than nails for sealing the joints of the birdhouse. On the other hand, they won't rust.
More. You should also buy small 'C' shaped clamps. They will be used to press the glued parts together and until they are dry.
The rest: a hair saw and a normal medium one to cut the wood, the white glue we are talking about, fine sandpaper, a carpenter's pencil and a ruler to mark.
- Two 10-centimeter by 9-centimeter pieces for the sides.
- One piece of 12 centimeters by 8 centimeters for the floor of the little house.
- One piece measuring 12 centimetres by 18 centimetres for the right-hand side of the roof.
- A piece of 14 centimeters by 18 centimeters for the left part of the roof.
- Two pieces measuring 13 centimetres by 20 centimetres for the rear and front parts of the construction.
We continue. Make a hole of about 7 centimeters of circumference in one of the pieces of 13 centimeters by 20 centimeters. That will be the entrance of the birds to the house. It is important to take into account the size of the birds. Once this is done, the edges have to be sanded. The edges of all the pieces of wood as well.
Then you have to paint all the pieces of wood. Choose a color that is not too bright or flashy because the birds will be scared by it. The idea is to choose neutral tones and not paint the house inside so that they don't peck at the paint.
Then, when all the pieces are dry, you have to join them with the glue. It is important that the assembly is done on a stable surface. Then keep the pieces fixed with the clamps to achieve a uniform pressure.
Once the glue is dry, the screws must be inserted to make the structure even more solid. Be careful not to damage the wood by screwing too much.
It is important to join the bottom of the birdhouse only with screws, because this way it will be easier to unscrew the base to clean the interior regularly.
The last pieces to be placed are the roof pieces, which will be configured as sloping, one of the pieces will be longer than the other to give the house a less conventional look.
Once the whole birdhouse has been assembled, the time has come to insert it into a support. It is true that it can be hung on a branch or under an eave, but many birds do not like their nests to move in the wind.
For that reason, it is recommended that the birdhouse be mounted on a pole or similar that is stable and high enough or far enough away from people to ensure peace of mind near the nest. It is best to do this on a metal pole that is securely fastened to the ground. It is also a matter of keeping the house out of sight of potential predators such as house cats.
Finally, it is also recommended that the aviary is oriented to the east, because the birds are attracted to places that receive natural sunlight in the morning. On the other hand, it is also avoided that the nest gets too hot in the afternoon, especially in warmer climates or in the summer months.
That's how easy it is to make an aviary with these Brycus tips, that's how easy it is to invite the birds to stay with us.


Our customers trust us
Opinions of our clients
Receive our news