How to attach a downlight
Installing a downlight is a great way to improve the lighting and look of your home . Downlights provide bright, powerful lighting that helps enlarge the space in any room. In addition, this type of lighting is much more effective than other systems since, since it is not at an angle, the light spreads more uniformly. Another of its advantages, especially in summer, is that this type of light does not emit as much heat as traditional lights. But if there is one quality for which they stand out, above all, downlights is that they represent considerable energy savings.
This type of lighting has a long-lasting performance that is fifty times greater than that of typical traditional incandescent lights. Currently downlights are totally affordable and add a modern and perfect touch to the lighting of any room in the house. Many people call an electrician to install these types of lights. However, its installation is much easier than you think. With our brycus tips you will learn how to install an LED downlight in your home easily and quickly.

Learn how to install a downlight with our Brycus tips
The prerequisite for installing any recessed ceiling light fixture is, of course, a suspended ceiling that has the depth necessary to properly install. The ceiling cavity does not need to be too deep as some spotlights are only 40mm deep.
In addition, before starting the installation you must make sure that you have turned off and deactivated the electrical outlet, in order to avoid any type of accident or injury when handling the electrical network.
You need to carefully read the instructions that come with the bulbs. Keep in mind that the installation of this type of spotlights involves making holes in the
ceiling, so it is important to carefully prepare the installation process before you start to place the spotlight.
Once you have met these prerequisites, you will proceed to install your energy saving downlight as follows:
1. First of all, you have to decide exactly where you want to place the recessed ceiling light bulbs. To make work easier, you can use a pencil to mark the area on the ceiling. Using a template you can mark the exact position that you have to open in the ceiling to install. Mark the exact position where you want to place the spotlights on the ceiling. Measure your downlighter very accurately to ensure the circles are the correct size. It is also necessary to check that there are no joists or cables in the ceiling area where you are going to start cutting the wall on the ceiling.
2. Carefully cut out the previously marked circles on the ceiling. You can do this process using a special drywall saw or a platform saw. Make sure not to cut anything that is above the ceiling.
3. Pass the bulb wiring through the holes you've made in the ceiling.
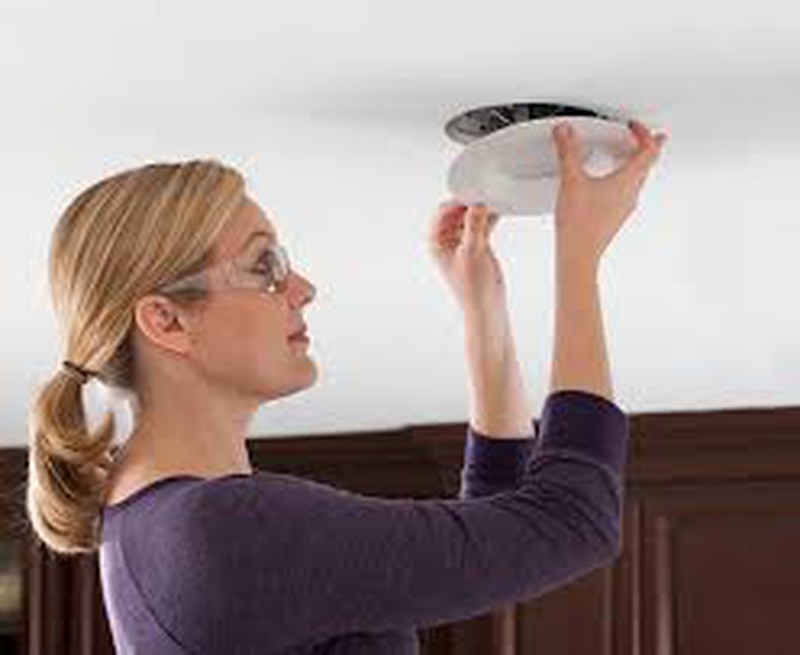
4. Press the two lugs of the LED light down and then push the light up into the hole you made in the ceiling.
With these simple steps, you can have your downlighter installed in any room, quickly and easily.


Our customers trust us
Opinions of our clients
Receive our news