Repair wood surfaces - Accessories and Materials-
Repair wood surfaces
Wood surfaces are vulnerable to all types of damage. Not too deep cuts ....Abnormal subsidence caused by blows or accidents... There is a variety of damages that, without being especially irreparable, can ruin the appearance of walls, furniture or other wood surfaces. They do not affect objects deeply: they lift and destroy the wood just below the finish, but they produce aesthetic damage and a decrease in its value. In some cases they carry the risk of deterioration.
Fortunately, we can solve many of these problems. In fact, repairing surfaces can be very simple and inexpensive. It is not necessary to master techniques, formulas or a specific art to make surfaces look much better again by following this brycus advice. It can be a rewarding and even fun task, especially for those who undertake it as a hobby.
Tools add materials
The collection of elements necessary to undertake the repair give an exact idea of the low cost of this company:
Sandpaper: This can be paper. They are also available in fabric, which allows for greater flexibility in sanding. A 220 grit sandpaper is ideal; however, it can be used with any of the finest sandpapers ranging from 240 to 400 grit. There are electric sanding machines and drills with sanding components on the market. The work we are going to do is so simple that we don't need to exaggerate by adding that equipment. One sandpaper is enough.
Spatula: You can buy an immense variety of quality spatulas. A straight blade is perfect. The blade should not be too wide or too long, given the nature of the work we have in mind.
Putty: In the past it was necessary to prepare putties at home... until the tubes containing all kinds of this paste arrived. There are still people preparing theirs. Whoever makes DIY a hobby has no difficulty; manuals are not lacking. Nowadays this extra work is optional for those who are encouraged. For the rest of us there is a great selection of putties or pastes for wood. Except for the care in the right color, the choice should not be difficult, if one considers that there are no important differences in the formulation of putties. In general they can be sanded easily and cleaned with water.
Rag: Cotton comes in handy. Do not fray or release lint; on the contrary, use it to collect dust properly. If you want you can moisten a little in water to have a complete certainty that it will clean well.
Brush: brush or small brush. To scratch the area where the paste will be applied when cleaning. This accessory is optional.
Paint: To be used if necessary.
Varnish: This will give a final coat of protection. There are different types that will be applied depending on the surface in question. Acrylic varnish will suffice in most cases; it protects the wood, seals surfaces and preserves the paint. Synthetic varnish is suitable for exteriors. Antique furniture or delicate surfaces that will not be exposed to the sun can be treated with very manhandled surfaces or those of constant use, such as wooden floors, require polyurethane varnish. A varnish of natural origin is shellac, which for its price is used more often than nitro varnish, although the finishes are excellent in both cases.
Small brush: or a doll. The doll is an article made with a cotton cloth filled with cotton that replaces the drill bit to apply the varnish. It is used to control the desired effect: to obtain a smooth and shiny surface. It avoids the risk of the bristles of a brush being untied and sticking to the wood.
Various elements: towel, rod, the handle of a brush...
First step: cleaning the surface
It may be that the affected part contains traces of raised wood. In this case it is obligatory to remove the chips by scraping them with the spatula. Be careful not to go deep into the hole. What you want is to clean and smooth the area, not deepen the damage. To carry out this task, hold the spatula between your forefinger and thumb.
The cloth, damp if necessary, will serve to finish cleaning the area. It is essential if it is necessary to remove dust particles or other tiny dirt. Brush, brush or small brush (it can be a toothbrush) can be useful complements to extract residues or dirt from certain cracks.
Second step: apply the putty
We can fill by applying this paste with the help of the spatula. It may be necessary to apply more than once until the filling is flush with the rest of the surface. Shallow holes can be filled in one go. The holes are filled by pressing with a stick of wood or other material, with the handle of a brush or with paper pushed by the finger. Tiny, properly shaped objects may work.
The putty tubes contain indications of the application and handling of waiting times. In general, even with home-made putties, a few minutes, no more than 5 or 10 minutes, are enough to check that the substance has almost dried out. If the view is not sufficient, we pass the fingertip over the repaired surface to verify that the filler has been level with the rest of the wood.
Waiting a long time before applying sandpaper can be counterproductive, as putties tend to harden a lot. When it has solidified enough, and is still very fresh, it is the right time to eliminate the excess and important roughness that protrude from the treated surface. The spatula, in more or less right angle contact with the repaired wood, can slide over the surface to cut the additional protruding filler.
It may be a good idea to have a towel by hand - wet, if you like - to dry and clean your hands. Sometimes they end up dirty with putties or varnishes, and the sensation of having remains on the hands becomes insufferable for the most picky craftsman.
Third step: sanding
With sandpaper we smooth and level the surface. A good sanding order is to polish the filled area and the surrounding area, in order to match and homogenize as much as possible the whole area.
Fourth step: painting and varnishing
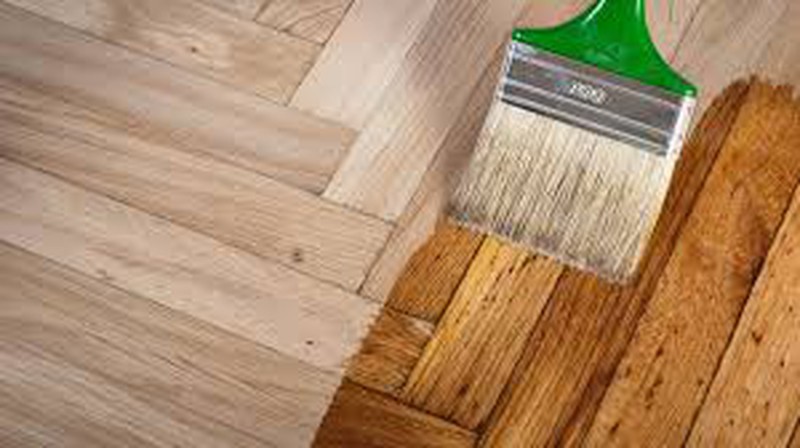
It's time for the finish. If the rest of the surface is painted, the repaired area will be covered with paint of the same type and color. A brush or a small brush is sufficient to perform this task. Whether or not you have painted, you may need to use a varnish.
The industry has electrical machines to spray the varnish. Of course, they are useful when it is necessary to varnish many objects and constantly. Not in our case. As far as we know, varnish is a kind of paint, the colour of which adopts, darkening it. When the wood is covered with it in its natural colour, it darkens, becomes shiny, stands out with more body, softens and is protected.
Starting from the assumption that the repaired surface corresponds to a previously varnished object, it is necessary to varnish the recomposed area, covering it with the chosen varnish. A brush or a small brush, of reliable quality, may be sufficient. The most demanding expectations may not be able to resist the use of a doll.
In a hobby that has been perfect until now, we cannot allow ourselves that in this stage the painting or the varnish create cumulus. The brush has to wring out enough to avoid excess paint on the bristles. This other reason makes many enthusiasts prefer dolls.
Following this Brycus advice, repairing wood surfaces becomes such a simple task that it is worth trying again.


Our customers trust us
Opinions of our clients
Receive our news